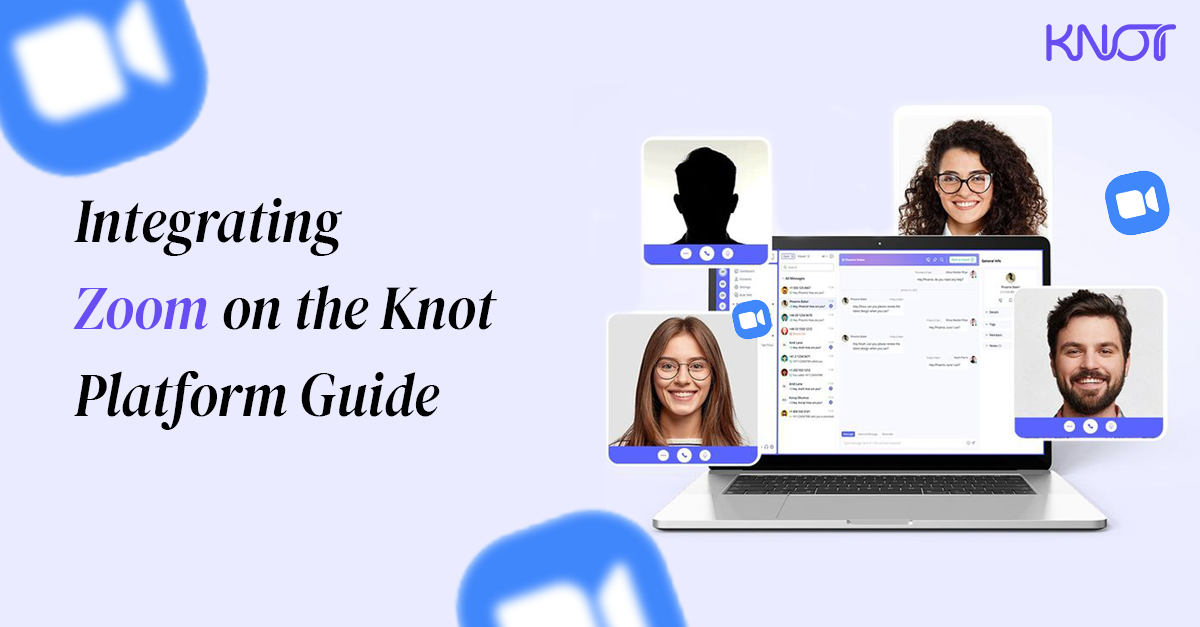
Extensive Guide to Knot
Welcome to the walkthrough help manual guide to help you integrate Knot into your daily system. This lets you manage your day-to-day meetings and facilitates the swift allotment of meetings to respective members.
Welcome to the walkthrough help manual guide to help you integrate Knot into your daily system. This lets you manage your day-to-day meetings and facilitates the swift allotment of meetings to respective members.
Here’s how to get started with Knot:
Client Access and Member Creation
As soon as you enter your credentials, you will immediately be redirected to the dashboard. The first step is to create your existing members via the dashboard.
-
On the right side of the panel, click on “Member”.

-
Since it’s your first time logging in, you will be required to add the new members. Click on “Create Member” in the top right corner.

-
A new pop-up will show up. Simply add the name of your member and his/her email address, and keep the status active. Click on “Create Member”.

A new member will be added to the current list, as shown below in the image. By clicking on the kebab menu, the admin can view the details, edit the information, or delete the members from the list menu.

By navigating to the “Details” button, you can get the detailed report on basic details, events, booking details, and summary stats that showcase the number of bookings, events, and associated clients.

Now the next step required is to create an event.
Creating an Event
To create an event on the RCV Scheduler to facilitate a seamless meeting and leverage integrated features of Google Calendar, follow the steps below:
-
In the top right corner of the panel, navigate to Create Bookings >> Create Events.

-
Add the event name, description, and the duration of the meeting.

-
After that, you will be required to select the event type that is bifurcated into three categories:
-
One-on-One single appointment, where the meeting will be scheduled directly with the assigned member and will remain occupied for that duration.
-
Group Meetings allow you to add the maximum number of participants at one time with the same link.
-
Robin Round facilitates the random allocation of meetings among the members based on their availability.

-
The next step requires you to add the member for whom you want the event to be allotted. In the case of Robin Round, multiple members can be selected.
-
Select the location type and location details, along with the timezone, to add more details about the meeting.
-
You also have an option to add buffer time (before and after the meeting) to ensure the next event has breathing space for your members.
-
Tick the event to make the timeslot bookable, and if you want to enable the confirmation, click on the checkbox to require confirmation.

Please note that if you select the group event type, there will be an additional dialogue box where you will be required to set the maximum number of participants.

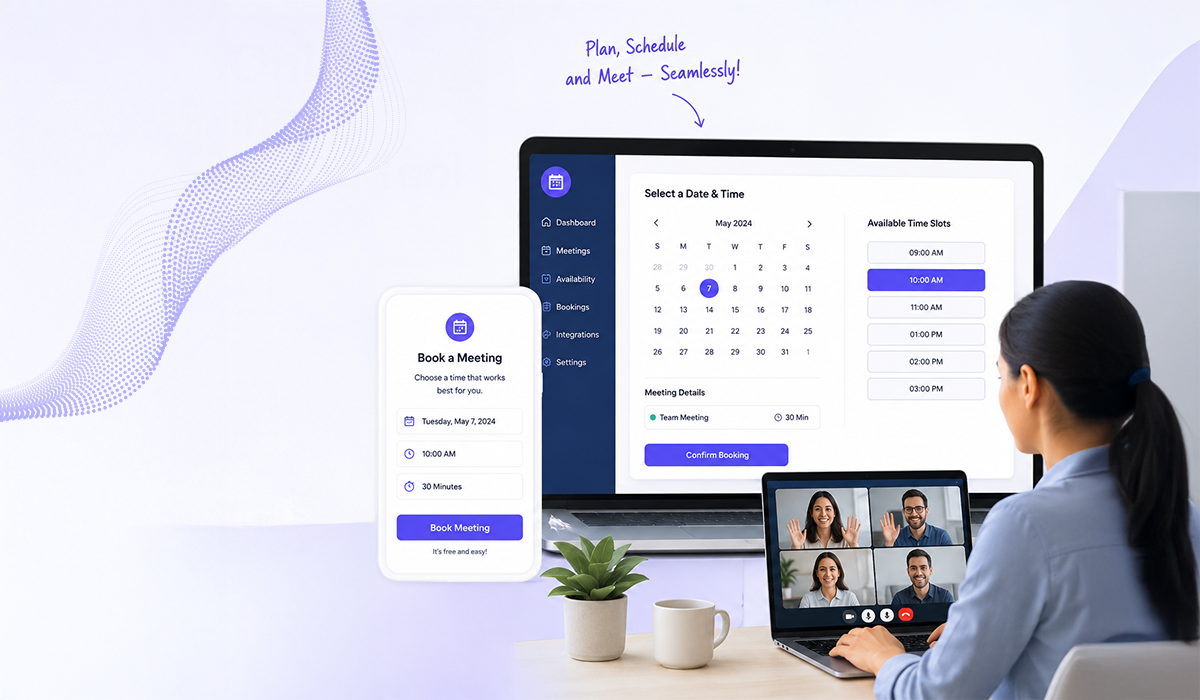
Availability of Schedule
Once you have filled in all the necessary information, the next step would be to fill in the availability & schedule.

-
Enter the start and end periods of the event. If you don't want the end period of the event, tick the “Unlimited End Date”.
-
For the next step, you have an option to generate the slot, either in automatic form or to enter the timeslot manually.
-
When you select the automatic option, all you have to do is enter the working hours and select the working days. And the system will automatically manage the events.

-
If you select the manual option, you be required to enter the timeslot manually. For example, if you select the event day for Monday, click on “Add Slot” to enter the customized slot and break it down as per your convenience.

Once everything is filled, click on “Create Event Type” to create the new event. The new event will be created.
After the event is created, you are required to copy the link to start event booking.
You will be redirected to the preview page where you can copy the link

OR in the left panel, click on Scheduling>> Kebab Menu>> View.

Click on “Copy” to share the link.
Share the link with your customer, where they will get the option to schedule their time slot accordingly.